
Screen early, verify deliberately, and decide with enough time left to negotiate from evidence rather than pressure.
Stage 1: Screen the address immediately
Start with property history, permits, tax movement, and obvious hazard signals before you spend more on the deal.
Stage 2: Direct the inspection and follow-up
Use early findings to decide which systems, documents, or specialist tests deserve attention during the due diligence window.
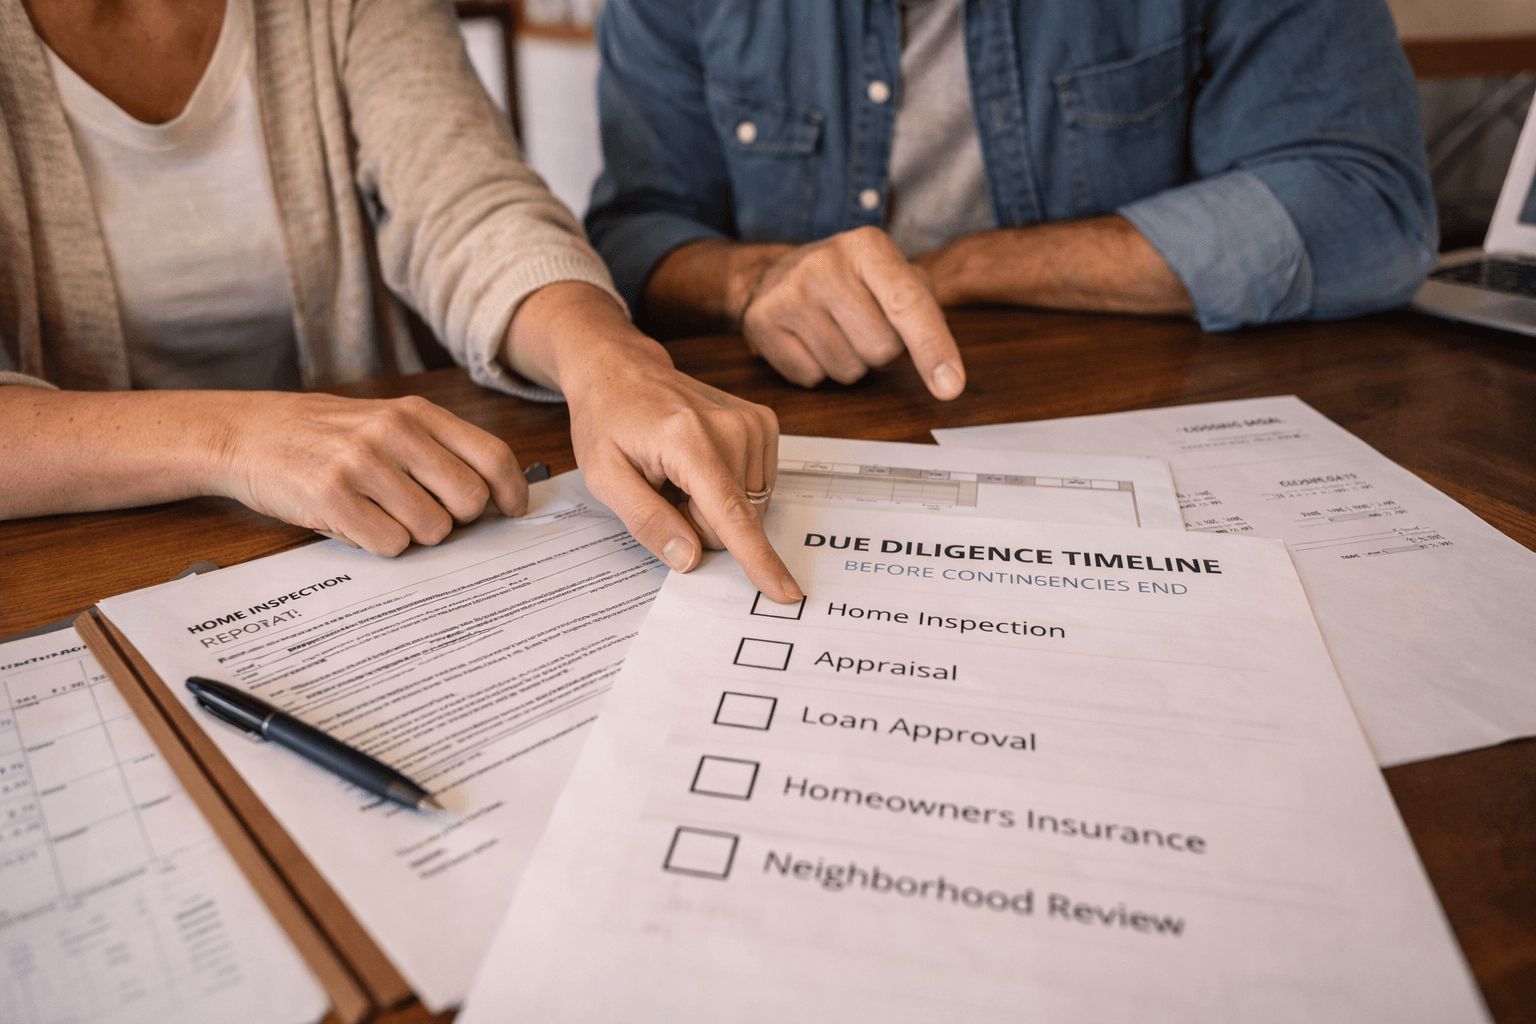
Stage 3: Decide before the clock gets expensive
By the end of contingencies, buyers should know whether to proceed, renegotiate, request credits, or walk away.
- The biggest due-diligence mistake is sequencing the work too late, not missing one obscure detail
- Early screening is what gives inspection, negotiation, and specialist follow-up enough time to matter
- A clear timeline protects the buyer from deadline-driven decisions
Days 1-2: screen the address fast
Before you spend more, use the earliest window to review property history, hazards, and permit signals. This stage is about deciding whether the home still deserves deeper effort.
The goal here is speed with purpose. Buyers should identify any obvious mismatches between the listing story and the public-record or risk story before they start spending more freely on the deal.
Days 3-5: target your inspections and requests
Once the home survives initial screening, buyers can use inspection, specialist testing, and seller follow-up more strategically. This is where record-based concerns and physical concerns meet.
This is also the window to request clarifications while there is still enough time to react. Open permits, unclear upgrades, hidden-hazard signals, and ownership-cost concerns should all shape what gets inspected and what gets asked.
Days 5-7: pressure-test costs and constraints
By this point buyers should be connecting the information, not just collecting it. Inspection findings, seller responses, insurance questions, tax realities, and repair expectations should start forming one coherent picture.
This is the stage where the deal often changes shape. A property that looked manageable on day one may now look expensive, slower, or riskier once the issues are seen together.
Days 7-10: make the final decision before deadlines tighten
By the end of due diligence, buyers should know whether to proceed, renegotiate, request credits, or walk. The earlier steps exist to make this decision evidence-based instead of rushed.
A good due diligence timeline is therefore not just about getting tasks done. It is about preserving enough time to make the final call from a position of clarity instead of deadline pressure.
Use EstateScreener before or alongside inspection.
Uncover property history, hidden hazards, ownership cost clues, and seller follow-up questions sooner so your next decision is based on evidence, not momentum.